Thursday, September 19, 2013

The Blackbeard Legacy - Part Four

Aye, me lads and lasses.  Seeing as how it be Talk Like A Pirate Day, yer captain be thinking it be high time we scuttle this bitch of a story and sail on to more pleasant tales.

When last we left, the story had shifted gears.  No more, it seemed, were we to muddle through the exploits of Hanna Teach - bastard daughter of Blackbeard - as she searched for her father to seek vengeance for her cursed mother.  The third chapter of this series focused instead on Morgan Sheppard - a bounty hunter of greater scruples and greater interest than Miss Teach.  The last chapter ended with Morgan accepting a job to deliver Hanna Teach's head to an interested buyer and with Morgan pointing a pistol at said head.

It was a stirring conclusion.  But if ye know anything about The Blackbeard Legacy thus far, ye know the conclusions are often misleading.  And to quote me idol Captain Joel Hodgson, "anything can happen during the cutaway".  So go ahead and read the summaries of PARTS ONE, TWO AND THREE.  They will help ye not in finding your way through the sargassum that follows!
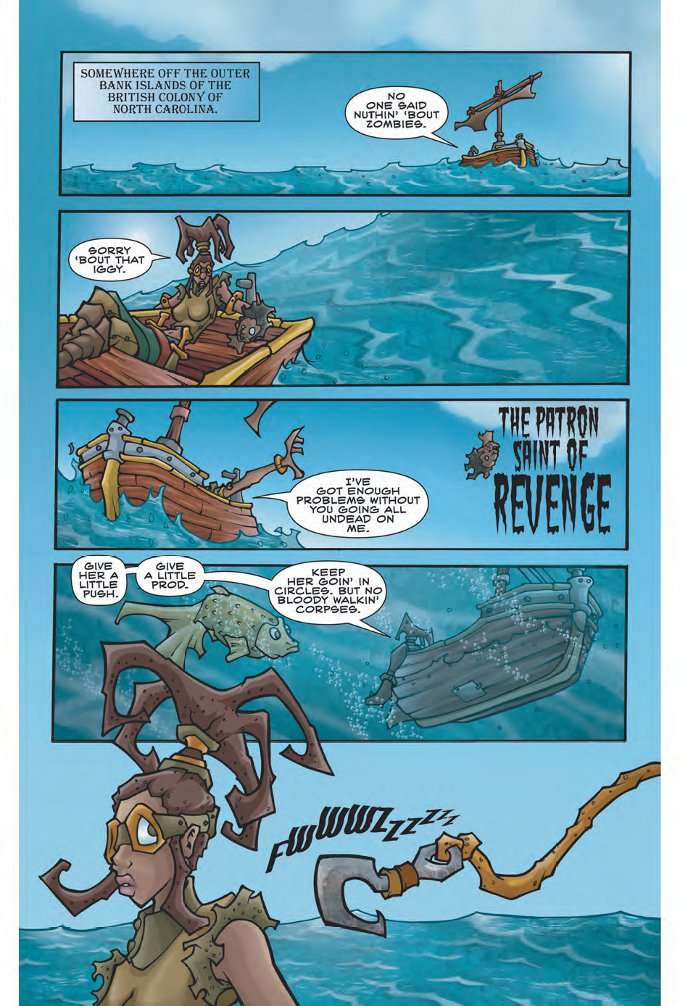
 

Our story opens on a lifeboat, with Madison - the blind bounty hunter Hanna convinced to work for her instead of killing her back in Part One - seemingly stranded.  Her dialogue seems to imply she just got out of a fight with a bunch of zombies or just fled from a bunch of zombies.  Which may or may not answer the question of what happened at the end of Part Two when it looked like a voodoo priestess bounty hunter was about to attack Hanna and her crew.  My gut is leaning toward 'not'.

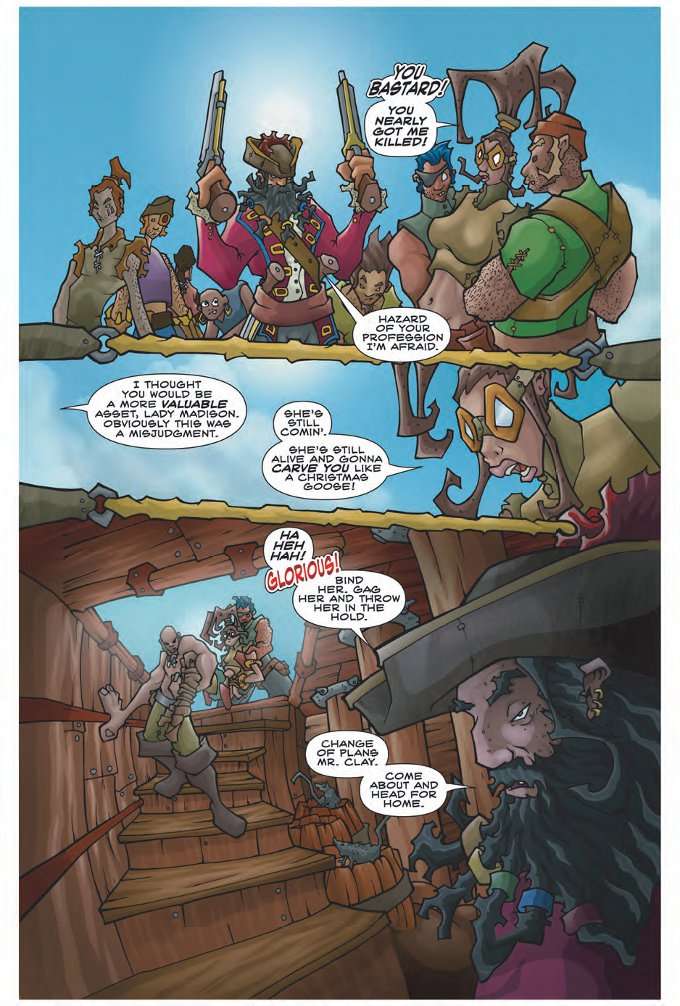
Fished out of the briny, Madison quickly finds herself on the Queen Anne's Revenge - the personal ship of Blackbeard himself!  More, it is revealed that Madison was in the employ of Blackbeard this whole time!  She was meant to keep Hanna Teach wandering and searching for Blackbeard.  Why?  Well, we're going to find out later, but I'll warn ye right now - you're really not going to like the answer.

So here's where we stand so far.  Madison - who we last saw in Part Two - was apparently either stranded at sea or fled a fight when the zombies showed up to kill Hanna.  Either way, this happened off panel, because the last we saw Madison she was still a crew member in good standing before the hypothetical zombie attack.  That would explain away one dropped cliffhanger.  But what of Part Three's ending, with Morgan Shephard getting ready to splatter Hanna's brains across the docks of St. Mary's?

Well... we may have an answer for that, as we cut to Hanna's current whereabouts, where the zombie-raising bounty hunter Obeahmama has shown up again.  Again?  Maybe?  Or is this the same fight that Madison fled earlier?  

It's really unclear.  Just as it's unclear if the pony-tailed woman on the left-side of this first panel is Morgan Sheppard.  Not that it matters.  Whether it's Morgan or not, she disappears from the book immediately afterward and is never spoken of again.     
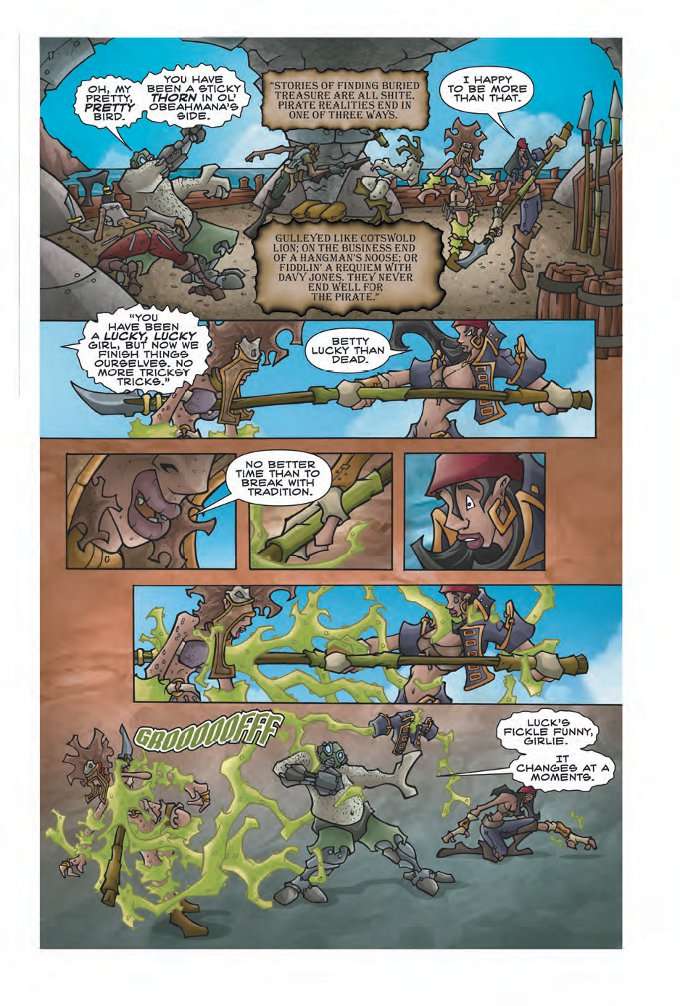
Thankfully, before Hanna can be cursed or zombified or whatever Obeahmama's magic blast is meant to do, she is saved by Schepsel!  Yes, Schespel!  Loyal and faithful Schespel, who sacrifices himself so that his friend Eddie might escape.  It is a noble sacrifice and one I'm sure would mean something had Schespel and Eddie EVER SHOWN UP AT ANY BLOODY POINT IN THE COMIC BEFORE NOW!!!

*sighs*


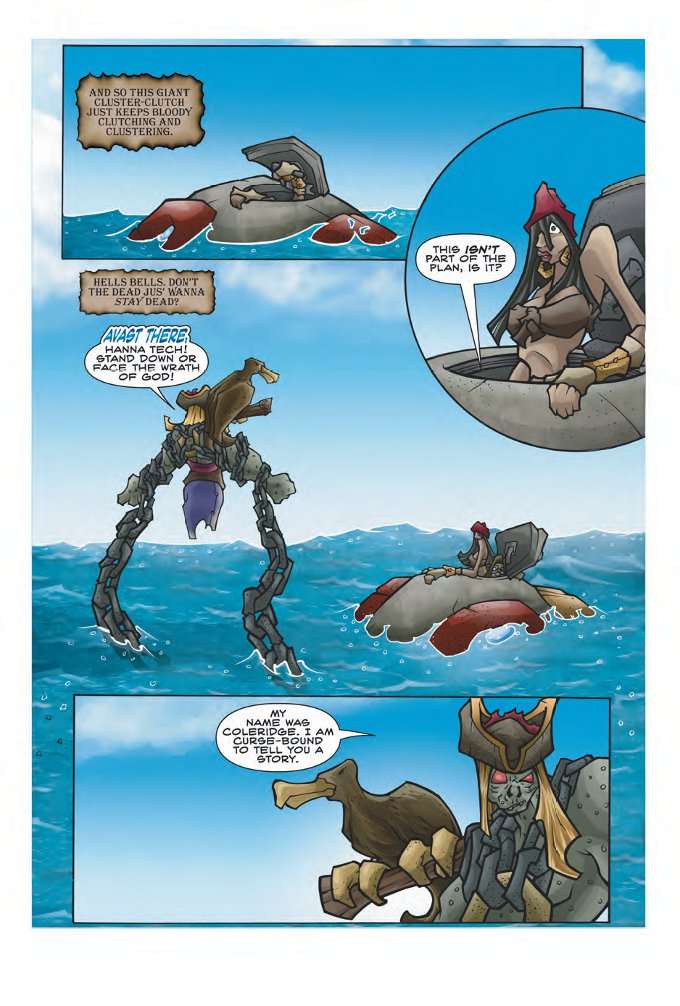
You're probably wondering who Eddie is too.  Eddie is the genius who designed a peddle-powered submarine that is shaped like an octopus.  Apparently he and Hanna are friends, since he raises no objections to her jumping on board his ship.  Then again, he may just want someone else to do the peddling as they flee for their lives.  
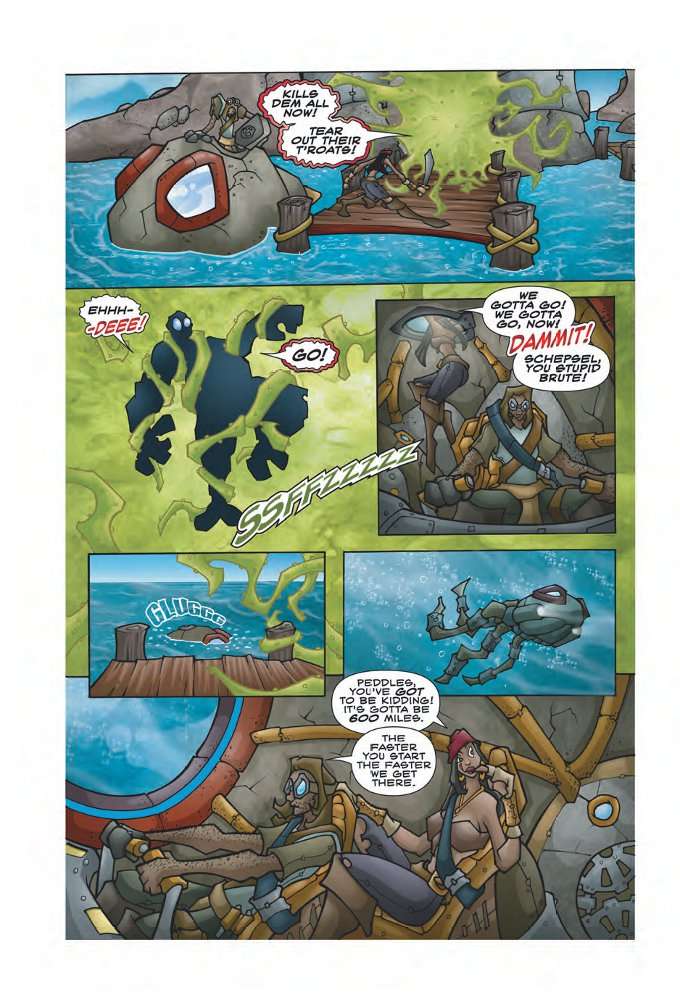
Two days later, Eddie and Hanna emerge somewhere off the coast of the Carolinas.  If you're thinking that's remarkable good time for a foot-powered submarine to travel from Madagascar (I'm presuming the port they just left was St. Mary's), you'd better brace yourself.  Because now comes the point in this story - which I'll remind you features zombies, pirates, magic, numerous anachronisms and steampunk submarines - when things get WEIRD!
The more well-read among you are probably face-palming at this point. 

For the rest of you, allow me to explain.  This Coleridge fellow is The Ancient Mariner.  As in The Rime of The Ancient Mariner by Samuel Taylor Coleridge - a poem about a sailor who was cursed to walk the Earth for all eternity after murdering an albatross that his crew believed brought them good fortune.  The Ancient Mariner learned from his mistake and now preaches a message of love and respect for all God's creatures.

He tells his story to Hanna and Eddie, who are bored senseless by the whole thing.  The Ancient Mariner recognizes Hanna's map - somehow - and tells her that seeking revenge will bring no good to anyone, for Blackbeard, loathsome though he is, is still one of God's creatures and must be given a chance to atone his wickedness.  Naturally, Hanna is having none of this but she does have wits enough to realize that arguing with a cursed undead sailor is never a good idea.
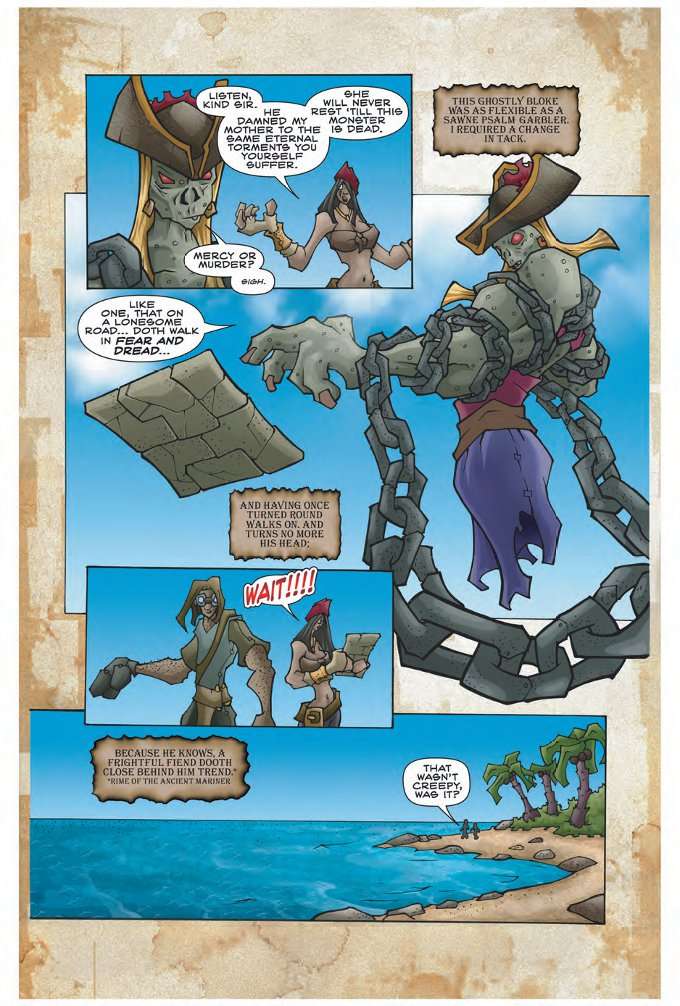

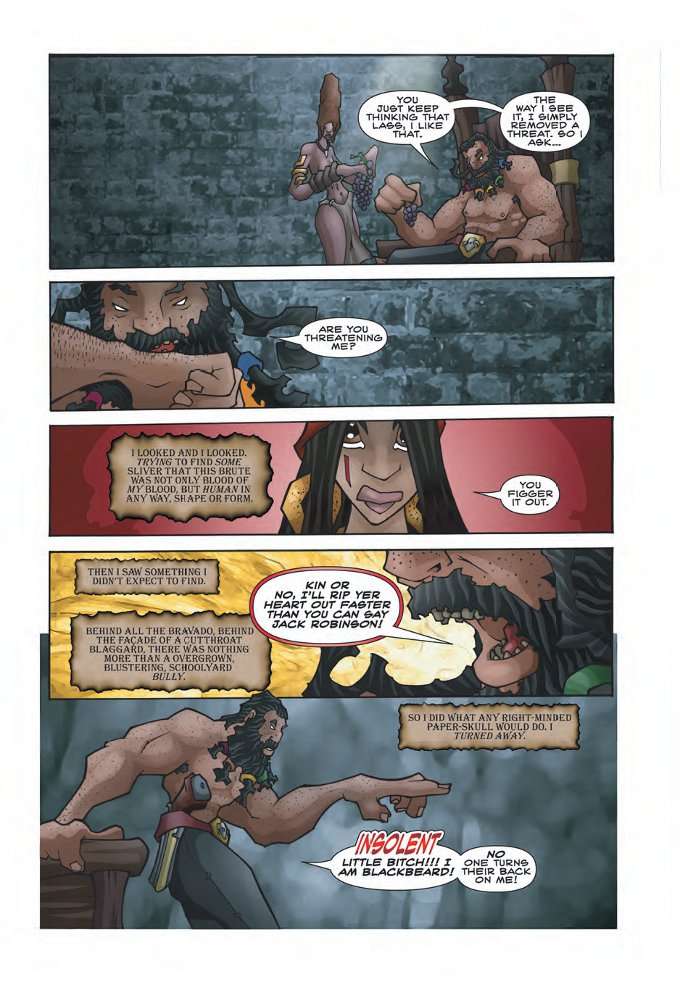
Suddenly, Eddie and Hanna find themselves standing on Blackbeard's island hideout.  And just as suddenly, the two stumble into a pit-trap and are captured by Blackbeard's crew.  The two are dragged before Blackbeard, who sits on his throne attended by a number of scantily clad wenches.  Because what's the point of being a pirate king if you aren't attended by a number of scantily clad wenches?!

Dead Old Dad is less than impressed with his bastard daughter and I can't say that I blame him at all.  The only reason Hanna has made it this far is through dumb luck and supernatural intervention.  And yet, I can't help but wonder why - if Blackbeard was so concerned about this bastard daughter seeking him out - did he not either deal with her personally or make it a damned bit easier for her to stumble into a trap?

Blackbeard orders Madison to be brought out.  Ready yourself for another pointless plot-twist.  It turns out Madison wasn't really blind!  And why is this pointless, you may ask?  Well...
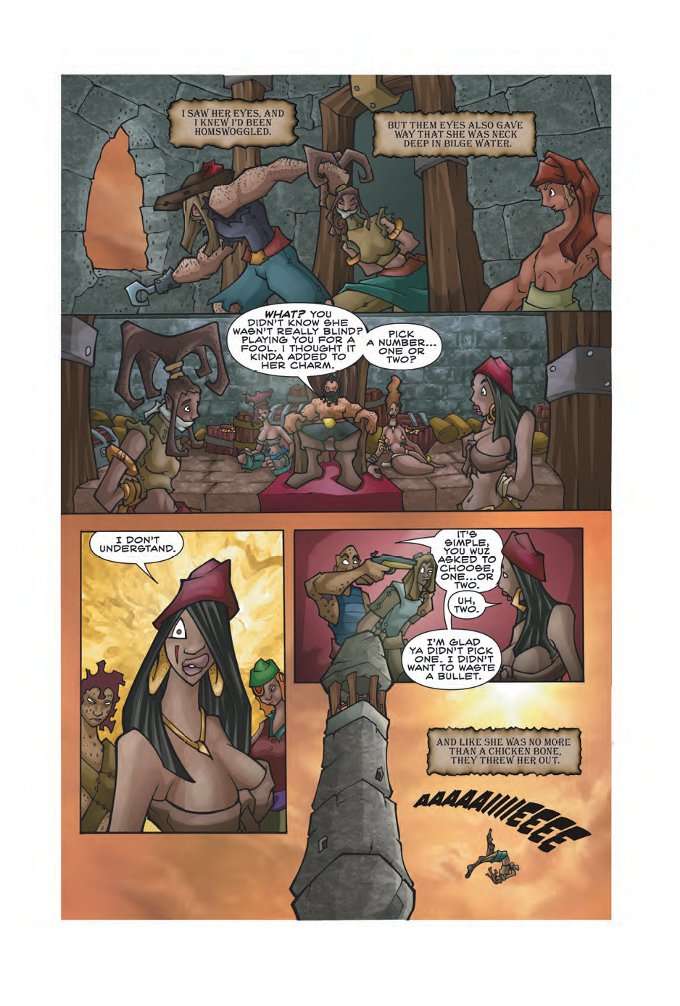
At this point, I feel it worth noting a flaw in this comic series I've not spoken of much before.  It is very hard to read.  And I don't mean because the artwork makes my eyes bleed or the story is utter crap.  I mean it is hard to understand which dialogue balloons are meant to be read first and how the panels are meant to flow together through a good portion of the book.  There are many places where the reader is meant to start on the right then move left, such as in the page two images ago where we're meant to start with Hanna's thoughts then move to the dialogue on the left.


Another common problem is that this series tells us things without showing them.  Perhaps the writers did not trust their artist to be able to depict a woman turning her head?  Who can say?  Given the quality of artist Bluewater Productions tends to hire, that's not an unreasonable guess.  All I know is that there is no excuse for this story requiring a thought balloon and a dialogue balloon to tell us what it could more easily show us in the art.

Anyway, Blackbeard makes good on his threat and does shoot Hanna.  It's at this point that an albatross flies in the window and begins making enough noise to wake the dead.  Not literally, understand, but the noise is apparently so distracting to Blackbeard and his crew that nobody raises any objection as Eddie picks up Hanna and makes a run for it.

So where did the albatross come from?  From The Ancient Mariner.  Who has apparently gone from being a messenger of God's love and mercy to being this world's equivalent of The Spectre.  He apparently sealed the doors of Blackbeard's tower after Eddie and Hanna were safely away.
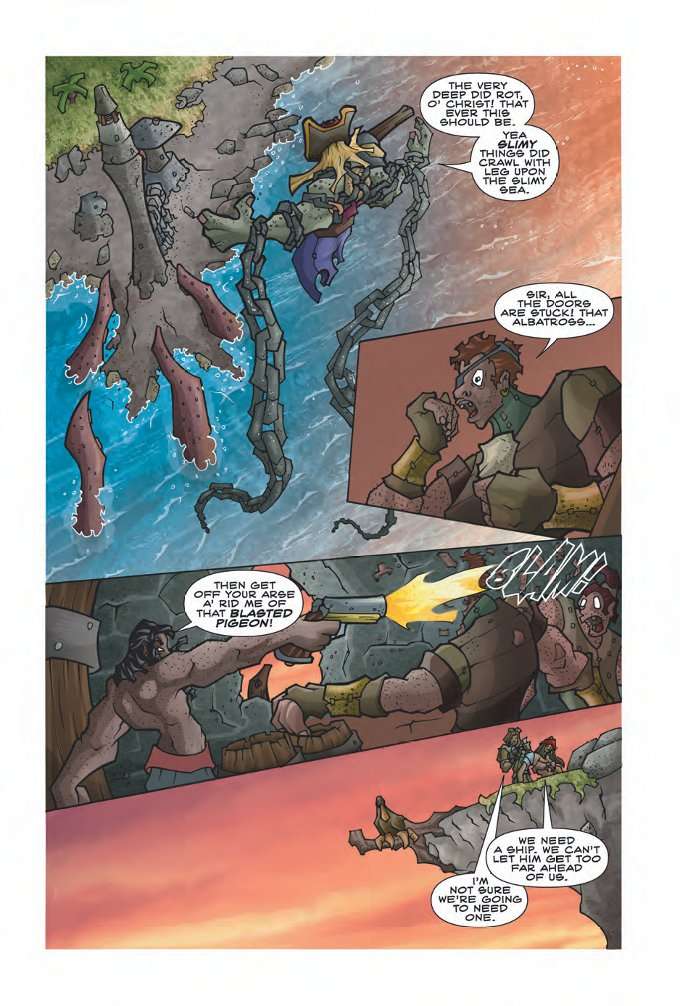
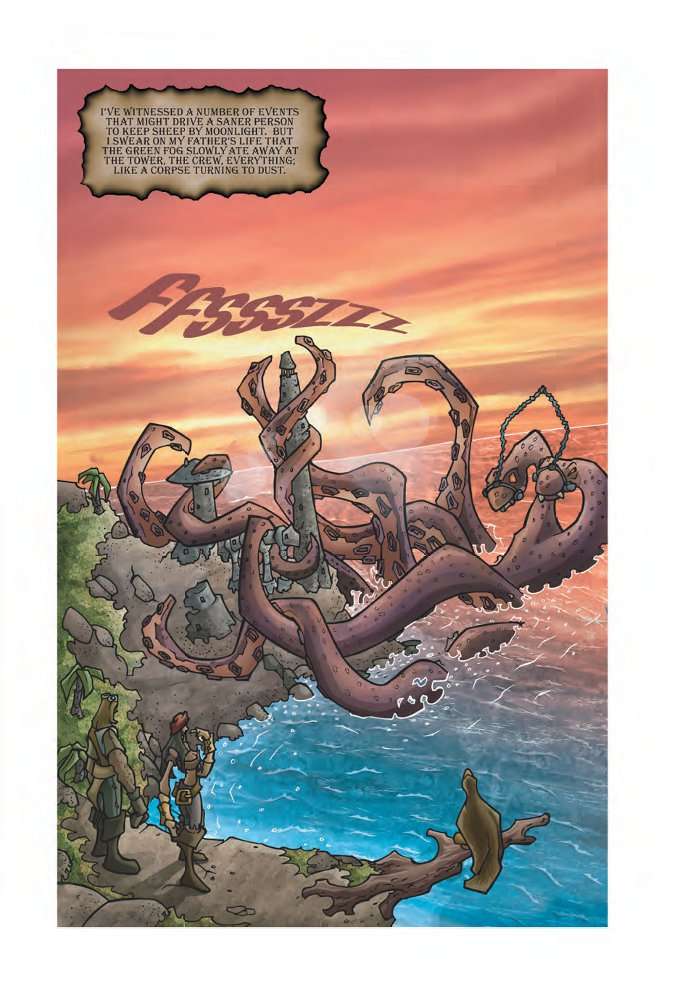
Faster than you can say "RELEASE THE KRAKEN!", the Ancient Mariner... eh... releases the Kraken.  At least, that's what it looks like in the artwork.  According to Hanna's thought balloon a green fog ate away at the tower, the crew and everything else.  Maybe she's hallucinating from the blood loss, although she doesn't seem to be at all hurt and is standing unaided in the next panel.   
And so, with her father having tried to kill her and the apparent blessing of the albatross (who scoops up Blackbeard's hat and drops it on her head), Hanna decides that she must continue the legacy of her father.  The father who cursed her mother, hired mercenaries to kill her and then tried to finish the job himself.

Hanna is a complete moron, in case you hadn't noticed.
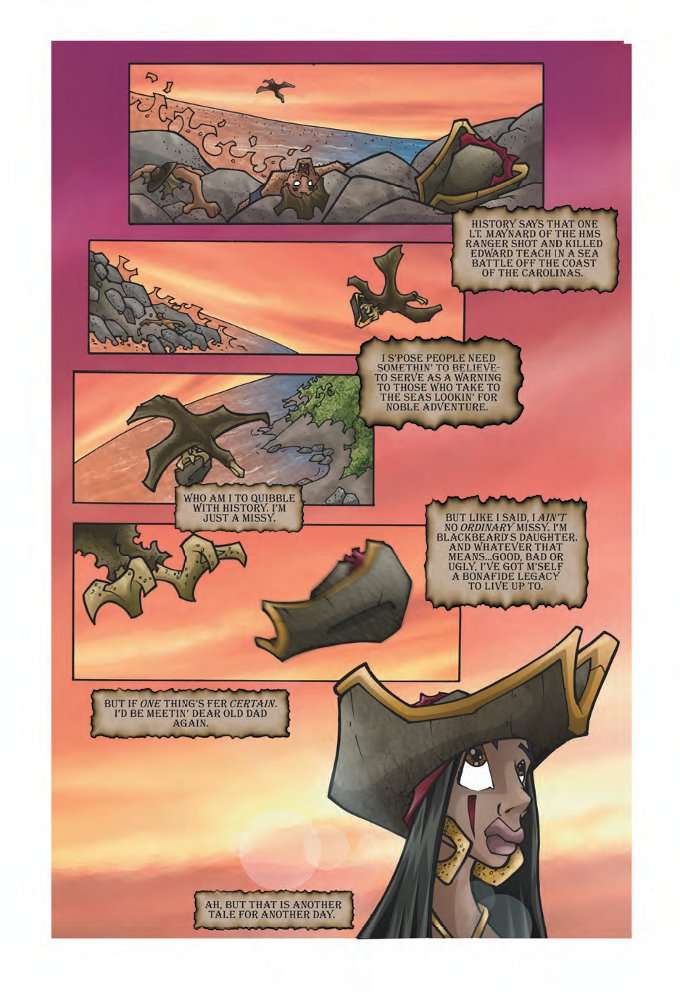
Then Hanna's eyes rolled into the back of her head as the internal bleeding took its' toll. The End.
 

This series is one of the worst collection of comics I've ever had the misfortune to read.  If I owned the print edition, I would not use it to pick up the droppings of my worst enemy's dog.  The artwork is terrible.  The plot is incomprehensible, with things happening just because.  The heroine is an idiot who is the least interesting character in the whole thing and her character arc is completely pointless since her one goal is accomplished without her doing a damn thing and then she decides to continue the legacy of the jerkass father she was trying to kill because he was a jerkass!

Stay away from this book, me hardies.  Stay far away from it.
 

Tuesday, September 17, 2013

Mission: G.E.E.K. (Ginormously Exciting EBook Kaper!)


Alan Kistler (whom wrote for Fanzing at the same time I did and is currently writing many books like Doctor Who: A History) and Jessica Mills (of Awkward Embraces & The N00b Chronicles fame) are partnering together on a travelogue book that promises to do for geek-based tourism what Fear and Loathing in Las Vegas did for mescaline.

There is a Kickstarter with all manner of benefits, including e-books, print books, digital sundries and various bits of autographed bric-a-brack.  Go and support it, just like your Unca Starman did!

Sunday, September 15, 2013

Red Sonja #3 - A Review


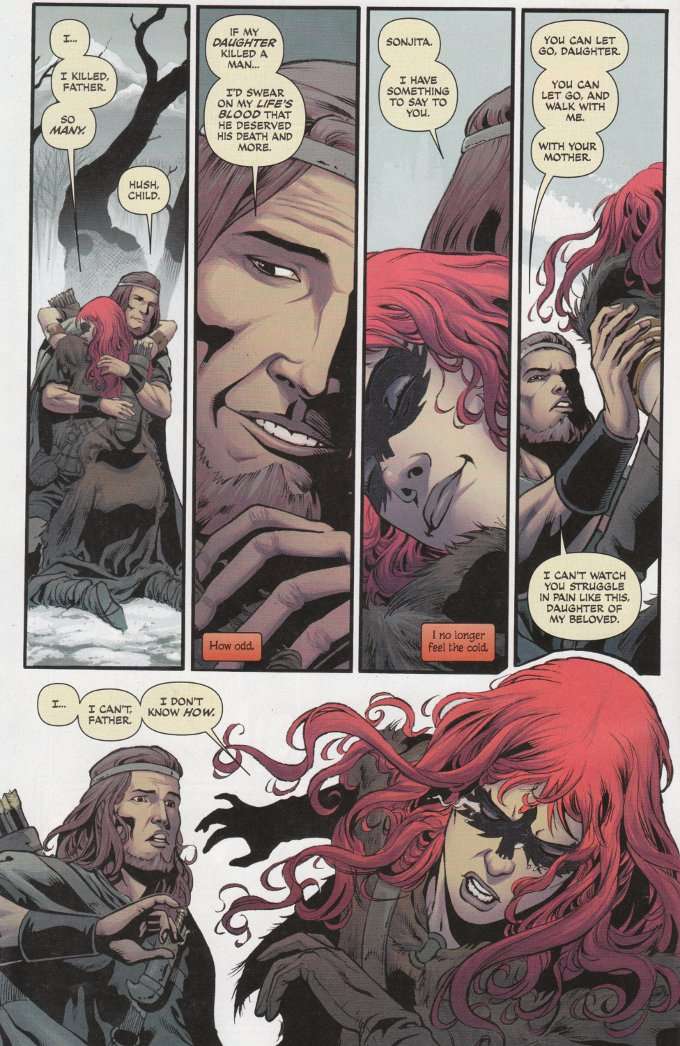
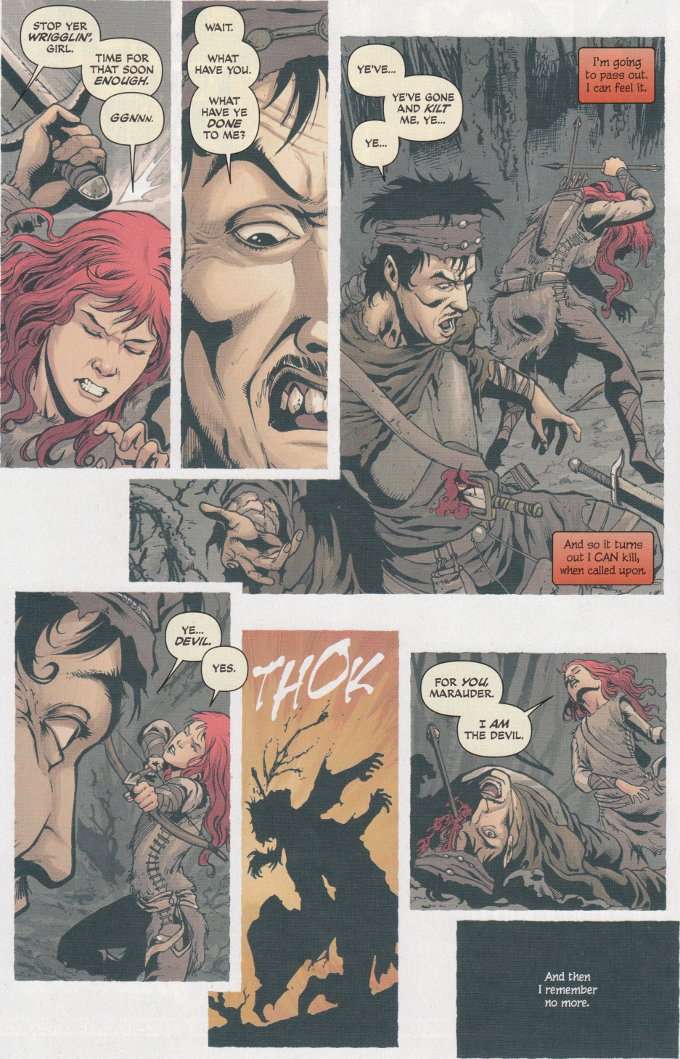
Gail Simone's Red Sonja run has proven revolutionary after two issues if for no other reason than she has given us a Sonja who has faced multiple failures and not bounced back from them.  She has been defeated.  She has been enslaved.  And now, following the revelation that she's a plague carrier, she is an exile.  Denied help.  Denied shelter.  Denied even her own name!  The woman once called Red Sonja has been sentenced to wander into the frozen wastes as a nameless victim to die alone - her life against the lives of the city she swore to protect.

Sonja The Red of Hyrkania is capable of most things and more capable than most.  Yet there is one thing Sonja has never been able to do or do well - admit defeat.  Even in the face of a dual death-sentence and denied her name, Sonja cannot find it in herself not to fight for life, though madness and visions of her family's violent deaths plague her as surely as the disease that saps her strength.   


I'll admit to some worry as I first began reading Red Sonja #3.  Perhaps I've been made over-wary of any story set in a dream-vision after Brain Wood spent several months giving us Conan The Barbarian stoned off his ass on lotus fumes, seeing a future that we know will never happen.  Thankfully, Simone keeps this story firmly rooted in reality. 

More, Simone finds another way to revolutionize the character of Red Sonja by instituting some major changes to her background.  I shall not spoil the surprises here, for there are two of them for long-time Red Sonja fans.  Suffice it to say I think Simone has given by taking away and the action at the heart of this issue proves a fitting beginning for a new origin of the She-Devil with a Sword.


Walter Geovani is a marvel of an artist.  I could write for paragraphs about his wonderful character designs, his skill as a visual choreographer, his use of shadow and all manner of other positive traits.  In the end, I think the scans above do far more justice to Geovani's craft than my words could.

Red Sonja has always been one of my favorite series but Simone and Geovani have transformed it into one of the best.  Great art.  Great story.  This should be on everyone's pull list, even if they are not typically a fan of the sword-and-sorcery genre.  Trust me - there's nothing typical about this sword-and-sorcery!

Riddler #1 (Batman #23.2) - A Review

The Riddler has always been my favorite Bat-villain and one of my favorite comic characters period.  I have a special fondness for all the characters who feel a need to prove themselves in some form or fashion.  And if my inner supervillain might make a confession, I'll admit to having a certain sympathy for Edward Nygma as another intellectual who doesn't suffer fools well, though I'm not homicidal about it. 

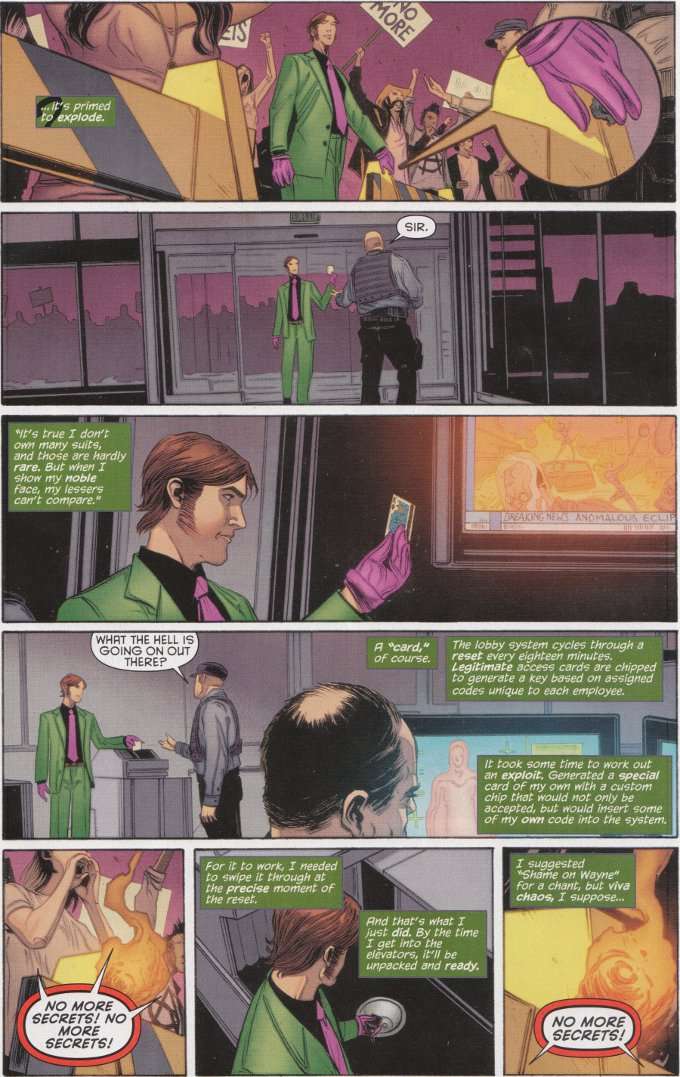
Both of these ideas are at the center of Riddler #1 - a special that focuses upon the method behind the madness of Edward Nygma as he attempts to circumvent the security of Wayne Enterprises' corporate office.  Why?  For several reasons that are revealed as the story unfolds, but in part just to prove that he can.


Nominally this issue is a tie in to the Batman: Zero Year event currently taking place in the main Batman book.  However, the only obvious connection to that story is that this features Scott Snyder's take on The Riddler.  This Riddler is a fixer - a trouble-shooter who sees to the dodgy work of other people for a price.  At least, that was Edward Nygma's role until seemingly being spurred to self-interest after one of his employers asked him what was the point in being the smartest man in the room if nobody else knew it?

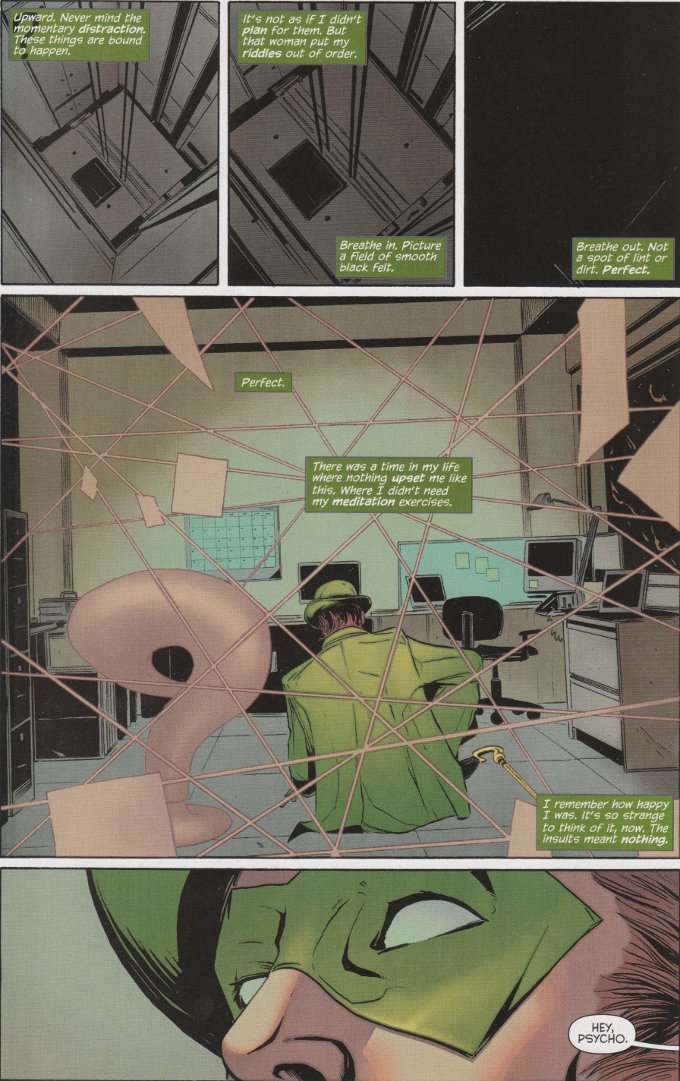
Snyder's Nygma is different than previous incarnations of the character, being as much a master of multiple disciplines as Bruce Wayne.  Comparisons might be drawn between this Edward Nygma and Jim Moriarty from BBC's Sherlock, where Holmes' greatest enemy has been reimagined as a consulting criminal who helps other evil-doers as consulting detective Holmes assists the police.  Nygma is as mentally unstable as ever, though his psychosis takes the form of an obsessive-compulsive disorder that drives him to be a literal know-it-all.  It's an engaging take on the classic formula and Ray Fawkes does a good job bringing it about.   


Jeremy Haun offers an equally inspired visual redesign of The Riddler.  With his new sideburns and tools that basically amount to a piece of psychic paper and a multi-tool cane, it's hard not to see this Nygma as looking somewhat like David Tenant - perhaps drawing inspiration from a now famous fan poster?  Regardless of the inspiration, Haun's cinematographic style depicts the story perfectly.  The direction is fittingly reminiscent of several recent heist movies and the action is well-paced throughout.

Riddler #1 is a welcome relief from the banality of titles that have made up the majority of the Villain's Month books so far.  There are no tired tales of abusive childhoods here - merely Edward Nygma being his brilliantly baffling self.  It's a good read for Riddler fans both old and new and gleefully fun in a sadistic sort of way.

Saturday, September 14, 2013

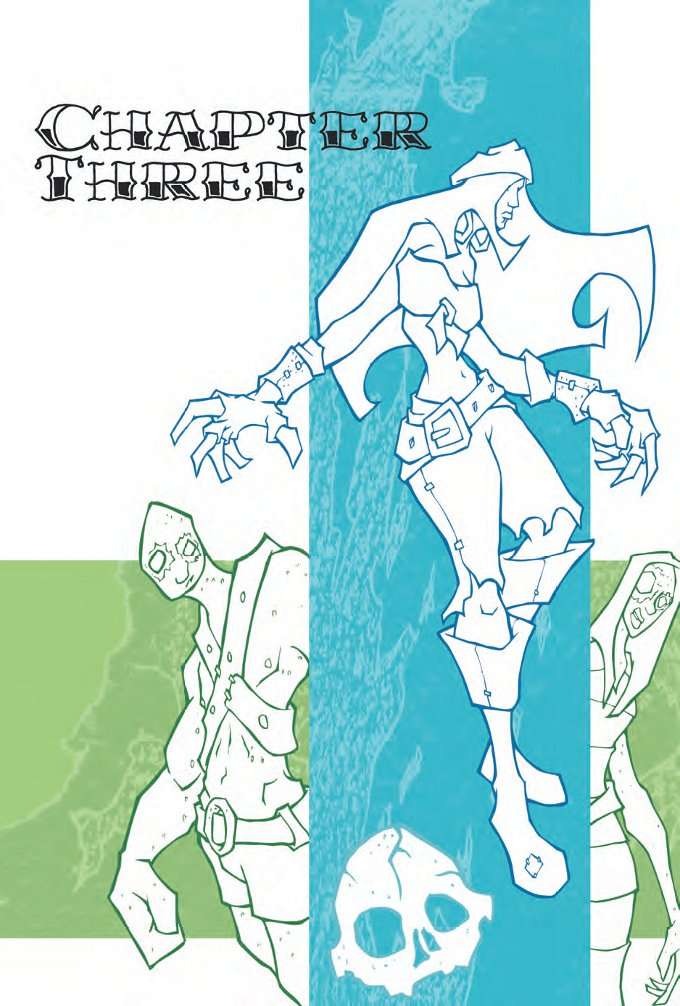
The Blackbeard Legacy - Part Three

When last we left The Blackbeard Legacy, we knew precious little more than when we'd started.  Halfway into this series and all we've learned about our heroine Hanna Teach is that she claims to be Blackbeard's daughter and that she wants revenge for what Blackbeard did to her mother.  It took us two issues to learn that much of who she is and what her motivations are!

There was also some nonsense about a zombie-raising bounty hunter and a key that has something to do with finding Blackbeard, but none of that really seems to have anything at all to do with the plot, such as it is.  You can read my commentary on Parts One and Parts Two if you really must know more.

Now read on...

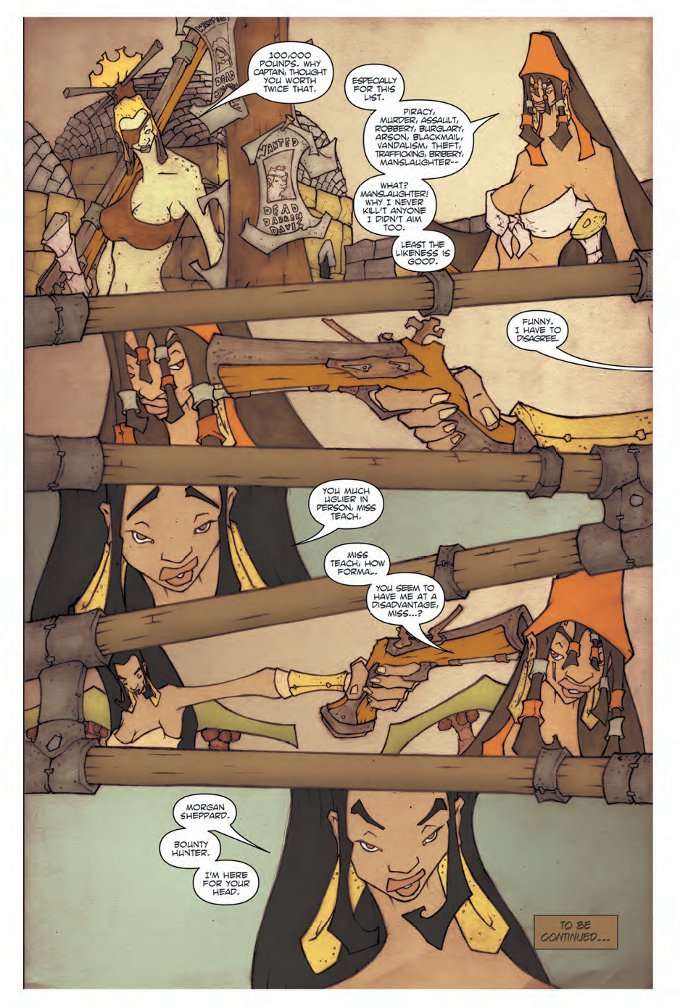
How much do you want to bet they didn't have time to finish coloring this page?
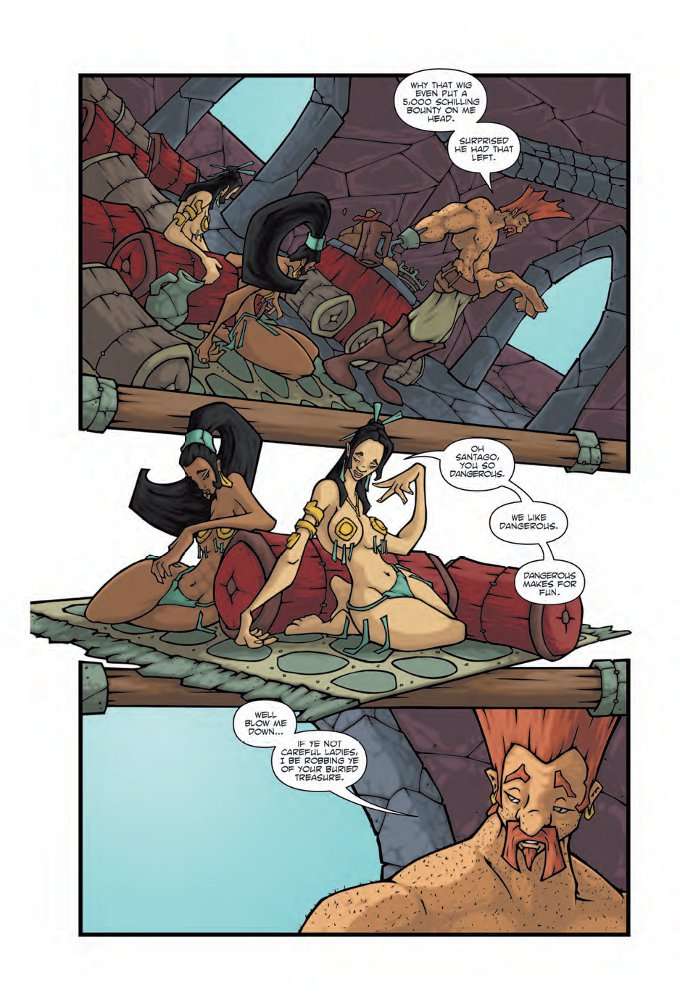
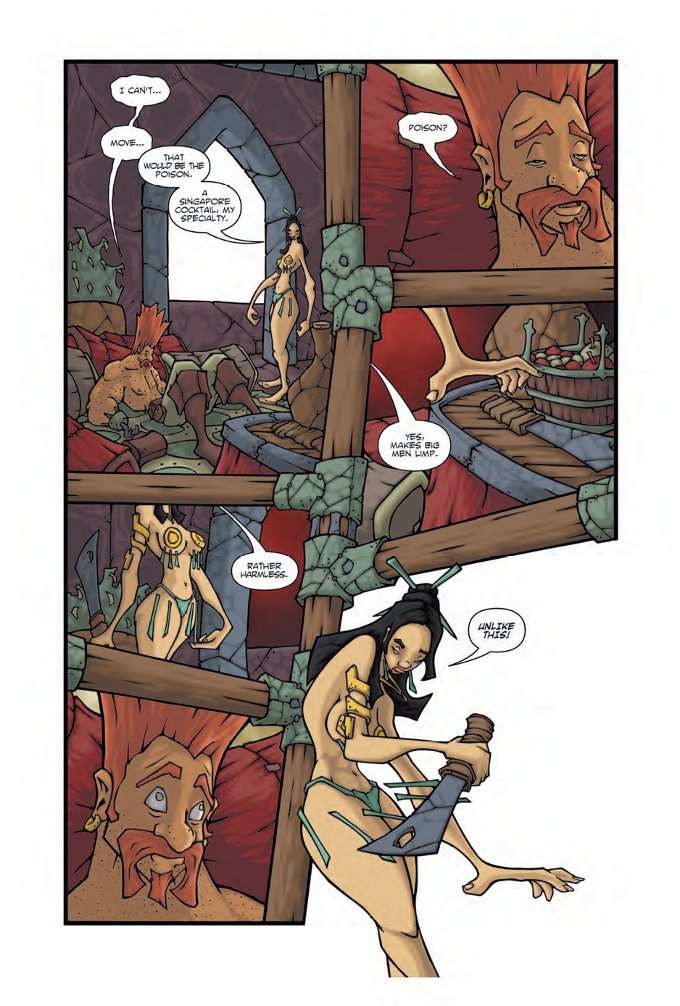

Astute readers will note that the art style for this issue seems to be different.  Not better, mind you - just different.  The characters are still misshapen and oddly colored but now their eyes are smaller and their hands are freakishly big.  And yet, I consider this artist - who is uncredited in all the information I can find on this issue - to be an improvement on Mike Maydak, because while the character designs are outlandish they are also consistent.

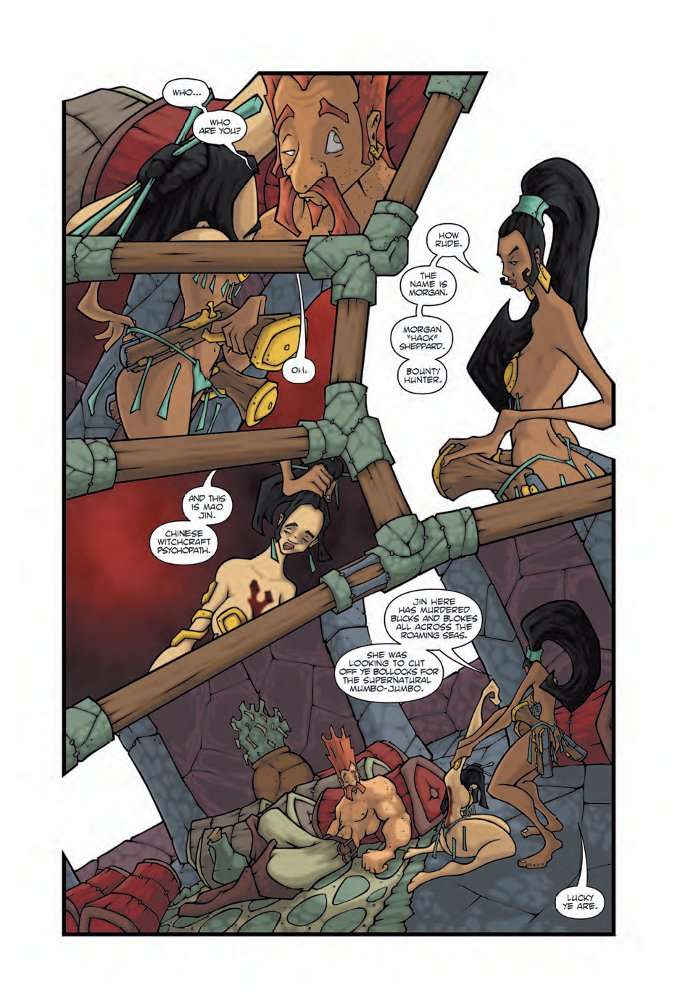
Unlike the first two issues of this series, we do not start with a rambling narration from Hanna Teach.  Instead, we open somewhere off the coast of Africa, in a tower.  Here we find Drake Santiago, Fearless Pirate (TM) bragging about his latest adventures to a pair of conquests.  Whether they're bought slaves in matching costumes or ladies of negotiable affection who just happen to wear the same outfit is unclear.  It is also unclear if the dark-skinned woman is Hanna Teach, once again working undercover to retrieve something she needs.

The only thing that is clear is that Santiago is ready to celebrate his victory in style with some good old-fashioned booty plundering.  The Asian woman offers Santiago a drink to help him relax.  The drink soon has Santiago feeling more than relaxed - he's downright helpless!  It turns out the Asian one of his nubile lady friends in an assassin out for the bounty on his head! 
Luckily for Santiago, the other lady friend is also an assassin - one out for the bounty on the other assassin's head.  She retrieves a pair of pistols from... somewhere (Seriously!  Where does she get those guns from?) and blows the first assassin away.  It is here we find out that - despite looking very much like Hanna Teach - the other lady friend is not Hanna Teach, but is a bounty hunter named Morgan "Hack" Sheppard.
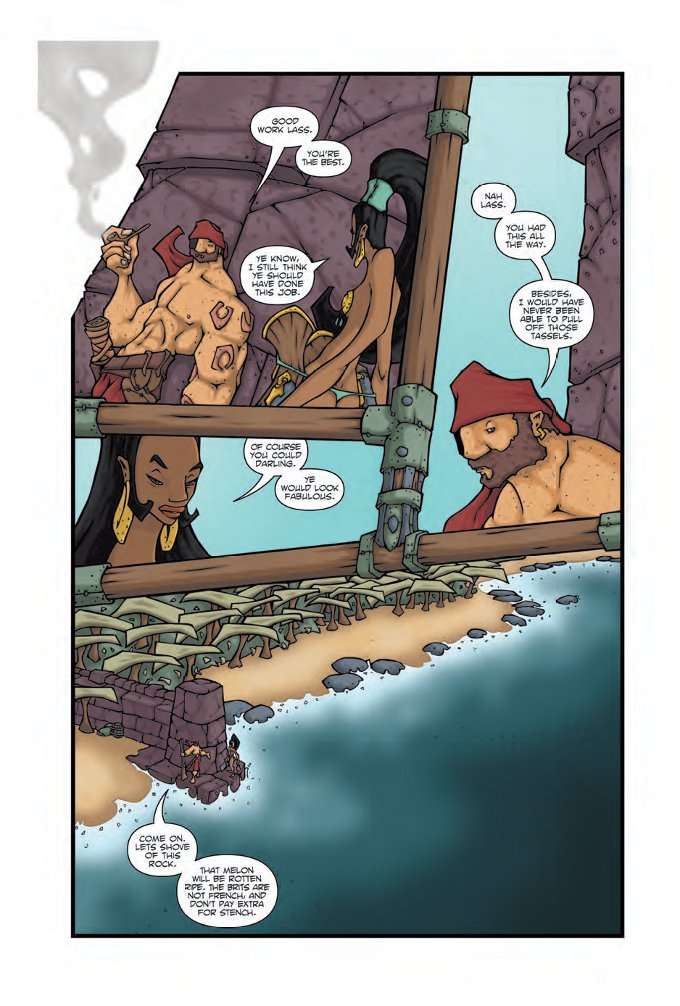
In a final bit if irony, Morgan reveals that nobody in the tower was who they claimed to be.  She knows that "Santiago" is not actually Santiago on account of her partner killed the real Drake Santiago a while earlier.  She's kind enough to advise Santiago about being more careful who he pretends to be in the future, noting that not all bounty hunters are as scrupulous as she and her partner are about confirming their targets before killing them.  Not too long that, after we meet Morgan's partner - a pirate named Patrick - and they're on their way to claim the bounty on the Asian assassin. 
At this point, some of you may be wondering what happened to Hanna Teach and why this story has suddenly switched focus onto this other pirate woman, particularly when the last chapter ended on a cliffhanger suggesting that Hanna was about to get attacked by zombie assassins.  That's a good question. 

Another good question is why do we now know more about Morgan and her motivations and backstory after half an issue than we do about Hanna after two issues?  And a really good question is why I'm so much more interested in Morgan's adventures after this short glimpse of who she is and what she does compared to Hanna.

Well, I do have an answer for that last one.  It's because Morgan is an interesting, morally complex character who does exciting things!  Compare that to the casually exploitative Hanna, who freely uses people without thinking and spent most of last issue walking around asking random townsfolk for information.

*sighs*

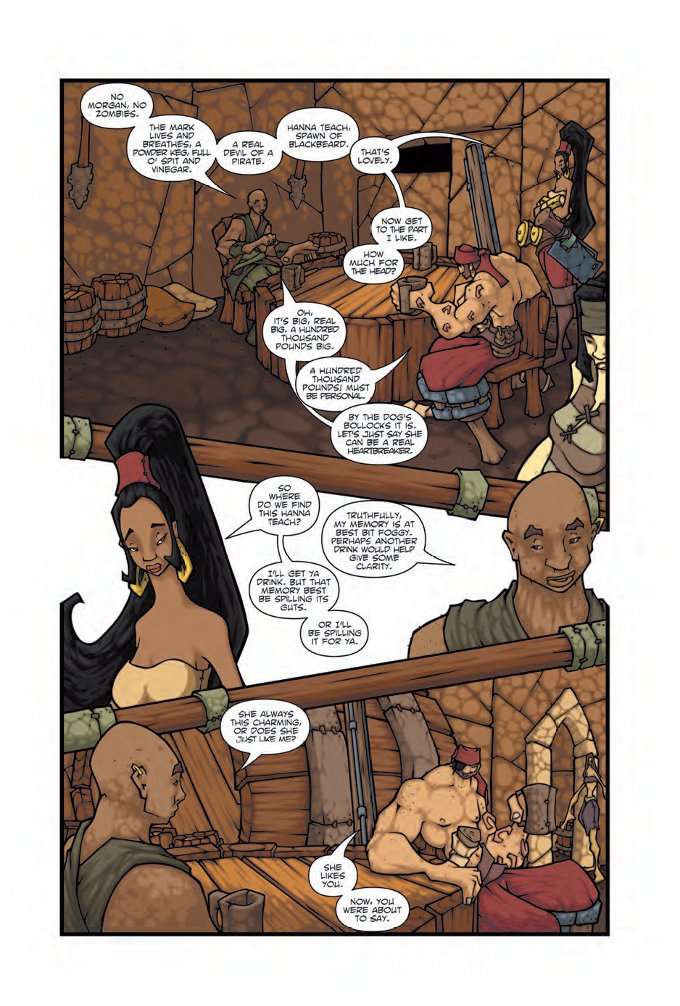
Cut to a tavern in Gibraltar, where Patrick and Morgan meet with their contact, collect their pay and find out about the next job their fixer had for them.  This is where the plot (such as it is) finally gets back on track as we find the bounty hunters' next target is - big surprise - Hanna Teach!
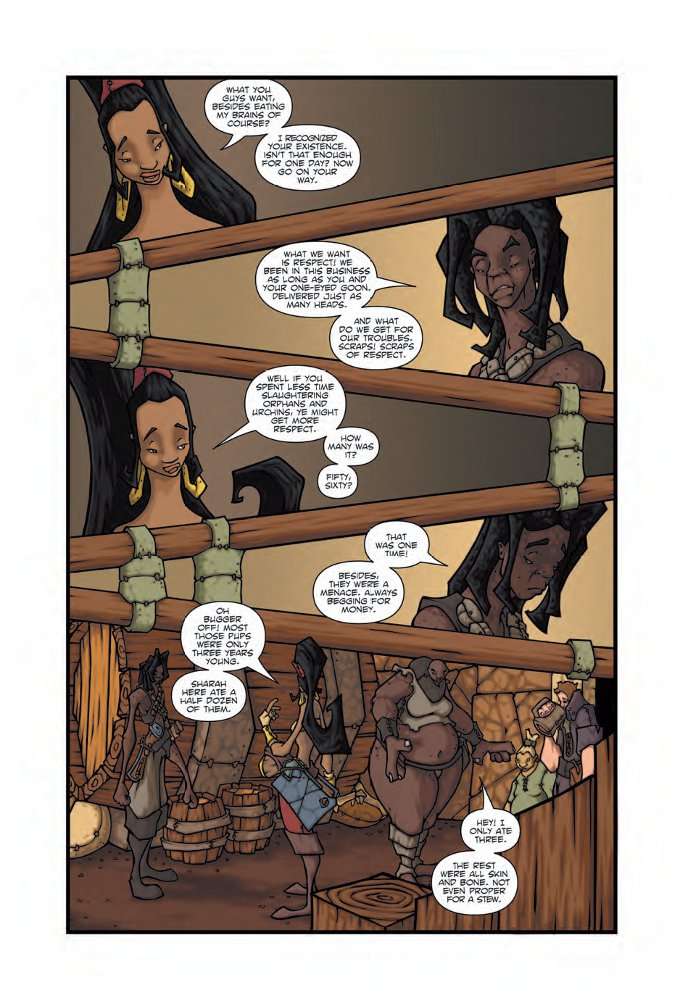
As Morgan goes to get her contact another drink, she's confronted at the bar by Phahed and Sharah - a rival team of bounty hunters.  They trade some sharp words about how Morgan should be working at the whorehouse down the street and how Phahed and Sharah are unskilled grunts who get by doing the dirty jobs Morgan and Patrick refuse on reasons of principal.  The kind of jobs that involve killing orphans and feature eating their corpses as a side-benefit.  
The duo inform Morgan that they came as a professional courtesy.  Someone else has put a price on Morgan's head with a bonus for Patrick.  Naturally, the cannibals mean to collect that bounty themselves.  But being the sort of idiots who inform someone that they're going to try and kill them instead of just killing them, they are easily startled when Morgan puts up a fight and a bar brawl ensues as a result.
As Patrick and Morgan make good their escape, we cut to the pirate haven of St. Mary's, just off the coast of Madagascar.  Here we find Hanna Teach and some of her crew, shopping for supplies (i.e. rum and limes).  Teach claims she's also there to rob some of the dead king's tombs that lie under the island but is quickly distracted from both thoughts of treasure and fighting scurvy when one of her crew spots her wanted poster.  And so our comic ends with Morgan showing up and placing a gun against Hanna Teach's head.


This issue is the chapter of The Blackbeard Legacy that really made me hate this series with an intensity I usually reserve for child molesters, book-burners and Mark Millar comics.  Not because it was bad but because it was so much better than the rest of the series.  The fact of the matter is that Morgan Sheppard is a much more interesting and competent heroine than Hanna Teach.  To have nearly an entire issue devoted to such a character after two issues of banality is painful because it gives you hope that things are actually improving.

Alas, it is a false hope.  As you will see next time when we conclude The Blackbeard Legacy...